Creating a new patient and case
Hardly ever needed — any patient scheduled for surgery in the EPR has a patient record and a case record created for them automatically. Do this by hand only if the integration has failed and the patient does not appear in Centricity, or if the patient has not been scheduled yet — typically a category 1 emergency section. Type the patient's real W number into the Patient ID field, and do not use the Emergency Case button. Getting that wrong strands your anaesthetic record on the wrong patient. You will need the W number and the patient's first and last name; it takes about 20 seconds.
- 1 Open Patients and Cases
Click the Patients and Cases tab.

The tab sits alongside Surgical Schedule. - 2 Start a new patient
Click New Patient.
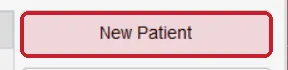
Top right of the patient list. - 3 Enter the mandatory fields
Only three fields are mandatory, each marked with a red asterisk: Last name, First name and Patient ID. Put the patient's W number in Patient ID.
This is the step that matters. When the case is later scheduled in digiCare, Centricity creates the patient automatically — that is the integration working as it should. If your record is sitting on a patient without the correct W number, Centricity will then refuse to move it to the right patient, because it says that patient already exists. Adding the birth date is not mandatory but makes the patient much easier to find later.
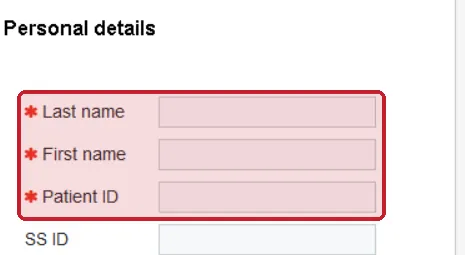
The three asterisked fields are all that is required. - 4 Save the patient
Check the Patient ID once more, then click Save and back.

Returns you to the patient list. - 5 Find and select the patient
Search for the patient you have just created and click the row so it is highlighted. The Cases of selected patient list underneath will be empty — that is expected for a patient you have only just created.

The selected row is shaded. - 6 Create a visit and case
Click New Visit and Case.
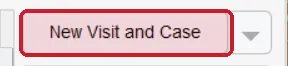
Enabled once a patient is selected. - 7 Set the visit start and Visit ID
Set the Hospital admission date (Visit start) to today, and enter a Visit ID. The Visit ID can be anything; by convention we copy the patient's W number and add a suffix, for example
W123456789-001. Click the small clock icon to the right of any date field to fill in today's date rather than typing it.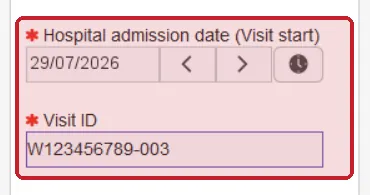
The clock icon fills in today's date. - 8 Set the scheduled procedure date
Set the Scheduled procedure date to today as well. Everything else on this page can be left alone.
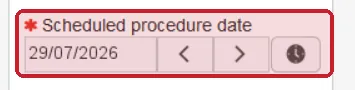
In the Case scheduling panel on the right. - 9 Save the case
Click Save and back.

Returns you to the patient and case list. - 10 Open the record
Select the case you have just created, then click Open Record. Chart as normal.
Enabled once a case is selected.
Because the Patient ID matches, when the case is eventually scheduled in digiCare it will attach to the patient record you created rather than creating a second one. There is nothing further for you to do.
First and last name can be corrected afterwards if you get them wrong. The Patient ID is the one to get right first time.